Installation
Requirements:
MatchyPatchy requires Python >= 3.12, <3.14. Download Python 3.12.
Installer
Download MatchyPatchy v0.1.1 Installer:
| OS | CPU ONLY | GPU |
| Windows | [.exe] | [.exe] |
| MacOS | Coming soon | |
| Ubuntu | Coming soon |
Windows: Run the downloaded MatchyPatchy-Installer.exe.
Linux: Run the downloaded .deb file.
Install via PyPi
- Using pip, install matchypatchy with onnxruntime. We recommend using a virtual environment.
pip install matchypatchy[onnx]
- Launch MatchyPatchy from the terminal
python -m matchypatchy
Install via GitHub
- Go to the MatchyPatchy GitHub repository.
- Clone the repository to your local machine.
- In a terminal, navigate to the cloned repository.
cd matchypatchy/matchypatchy
- Using pip install onnxruntime or onnxruntime-gpu <1.21.0. We recommend using a virtual environment.
- Using pip install package locally. We recommend using a virtual environment.
pip install -e .
- Launch MatchyPatchy from the terminal
python -m matchypatchy
Getting Started
Welcome to the MatchyPatchy User Manual! This manual is designed to help you get started with MatchyPatchy, a desktop application for aiding in camera trap-based re-identification for accurate population assessment. MatchyPatchy supports both images and video, and the database that is created can be shared and exported easily.
When running MatchyPatchy for the first time, there are a few things to take care of first.
Project Directory
On first launch, MatchyPatchy will create a folder in the location of the launcher called “MatchyPatchy-Share” that houses the database, any AI models you download, and exported data.
You can select a different MatchyPatchy-Share folder in Edit > Configuration - Project Directory. If you rename the folder, you must update the path in Edit > Configuration - Project Directory.
Surveys
MatchyPatchy organizes sets of camera trap data by survey. On first launch, MatchyPatchy will create a Default Survey. To edit the name of this survey, select “Manage Survey”, select “Default Survey”, and press the “Edit” button.
To add a new survey, press the ”+” button to add a new survey. A popup will appear. Input the Name of the survey, the geographical Region the survey occured in, and the Start and End Year of the survey period. You can view surveys by selecting “Manage Surveys”. A popup with the list of durveys will appear, allowing you to add, edit, and delete surveys.
Stations
MatchyPatchy assumes that groups of camera trap images were collected from particular camera stations. When importing data from a folder of images, such as from a station, you can select the station name from the folder structure. You can also import multiple stations at once, though this requires that the folder hierarchy is consistent across stations, i.e. that the station name is at the same “depth” throughout the given directory.
When importing from a .csv file, make sure there is a column that provides station information.
AI Models
In order to predict potential matches, MatchyPatchy requires MegaDetector and a matching algorithm suitable for your species of interest. We also recommend a viewpoint detection algorithm to prescreen for impossible matches between different sides of the animal. You can download models from our server by pressing the “Download ML Models” button or by selecting the File > Download ML Models option from the menubar. MatchyPatchy downloads the models into the MatchyPatchy-Share/models directory.
Available models:
| MegaDetector v1000_sorrel | Standard MegaDetector model |
| MiewID v3 | Matching algorithm good for big cats, whales, ... |
| Big Cat Viewpoint |
Once you have added a survey, organized the data by station, and downloaded the required models, you are ready to start using MatchyPatchy!
Using MatchyPatchy
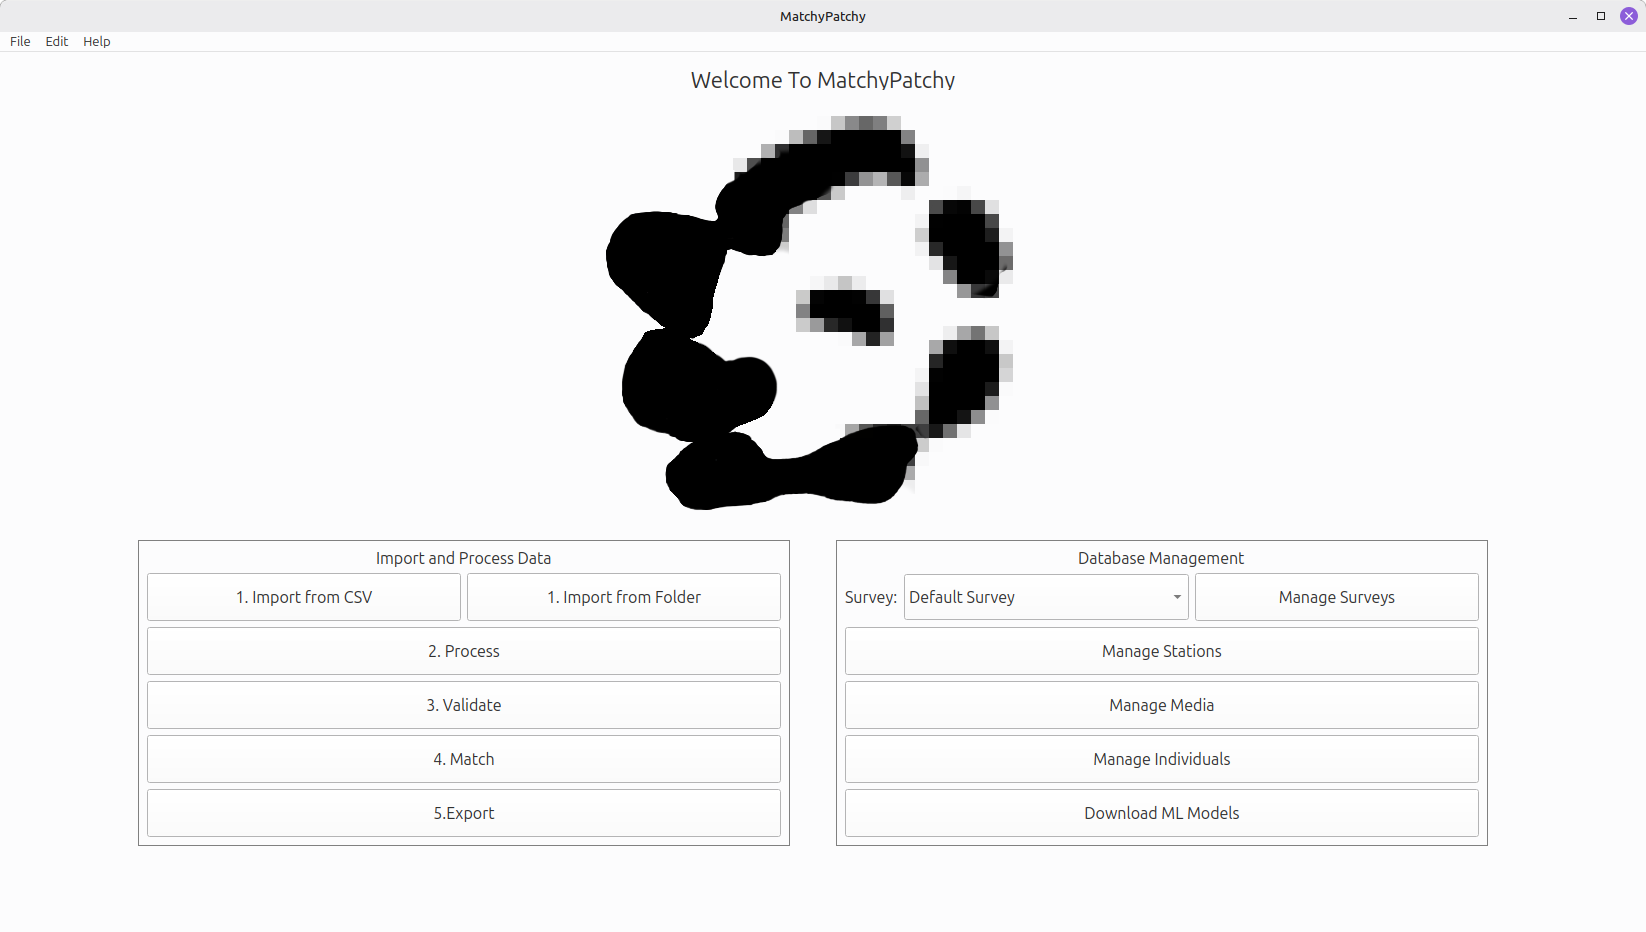
To begin using MatchyPatchy to match individuals, select a survey to add camera trap data to, or create a new survey. Then follow the steps in the left column of the Home page.
1. Import Data
MatchyPatchy supports importing raw data from a folder, as well as from a .csv. The .csv can contain preprocessed information such as bounding boxes, timestamps, etc.
From a Folder
To import a folder of images, select Step 1. Import from Folder and select the desired folder in the browser popup. Then select the level in the folder tree that refers to the camera trap Station and then press okay.
MatchyPatchy can import multiple stations at once if they are all contained in a single higher-level directory. However, all of the Station folders must be at the same depth within the directory. Select the level that corresponds to Station from the example path and then press OK.
From a .CSV File
You can import a pre-processed spreadsheet that contains information about the images. MatchyPatchy can accept the following information as columns:
- Filepath (full local path required)
- Timestamp (required)
- Survey (required)
- Station (required)
- Region
- Camera
- Sequence ID
- External ID
- Viewpoint
- Individual
- Comment
The names in the spreadsheet do not have to be identical to the ones above. Once you select a .csv file to import MatchyPatchy will ask you to associate columns in the .csv file to the information it can accept. The full filepaths to the images that can be accessed from your machine, timestamps, and station names are required fields. If your .csv does not contain a column that conveys the optional information, leave the column selection to “None”.
For more information about these fields, see media table information.
2. Process
After importing images by either selecting a folder or .csv file, you must then process the data with AI. MatchyPatchy looks for models in the MatchyPatchy-Share/models folder. You can download models from our server by selecting File > Download Models from the menubar.
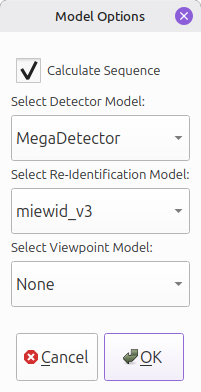
Calculate Sequence
You can optionally check “Calculate Sequence” which will group images together based on Station and timestamp. By default, sequences will have no more than 3 images per sequence that occur within 60 seconds. The default images per sequence and sequence length in seconds can be changed in Edit > Configuration
Videos will each be given their own sequence ID number. A set number of frames will be extracted from each video to be processed by the Detector and Re-Identification models. These frames will also be assigned that sequence ID and will behave similarly to a sequence of images. The default number of extracted frames is 3 and can be changed in Edit > Configuration.
Detector Model
If you imported from a folder or if you did not import bounding boxes in the .csv file, you must first use an object detector like MegaDetector to automatically extract Regions of Interest (ROIs) that closely crop to the animal.
Re-Identification Model
In order to calculate potential matches, each ROI has to processed with an embedding extractor such as MiewIDv3.
Viewpoint
For some species, we offer a viewpoint model that determines whether the animal is facing left or right. MatchyPatchy only offers potential matches with the same viewpoint, or if viewpoint information is missing. Viewpoint can be manually input or edited in the Media page.
3. Validate
Before beginning the matching process, we recommend validating the AI output. This step will bring you to a table that lists all of the animals identified in the images or videos, as well as associated metadata. From here you can verify that each ROI contains a single animal. You can return to the Home page or continue to the Match page by pressing the corresponding buttons.
To view the full images, select “Full Images” from the “Show:” dropdown menu.
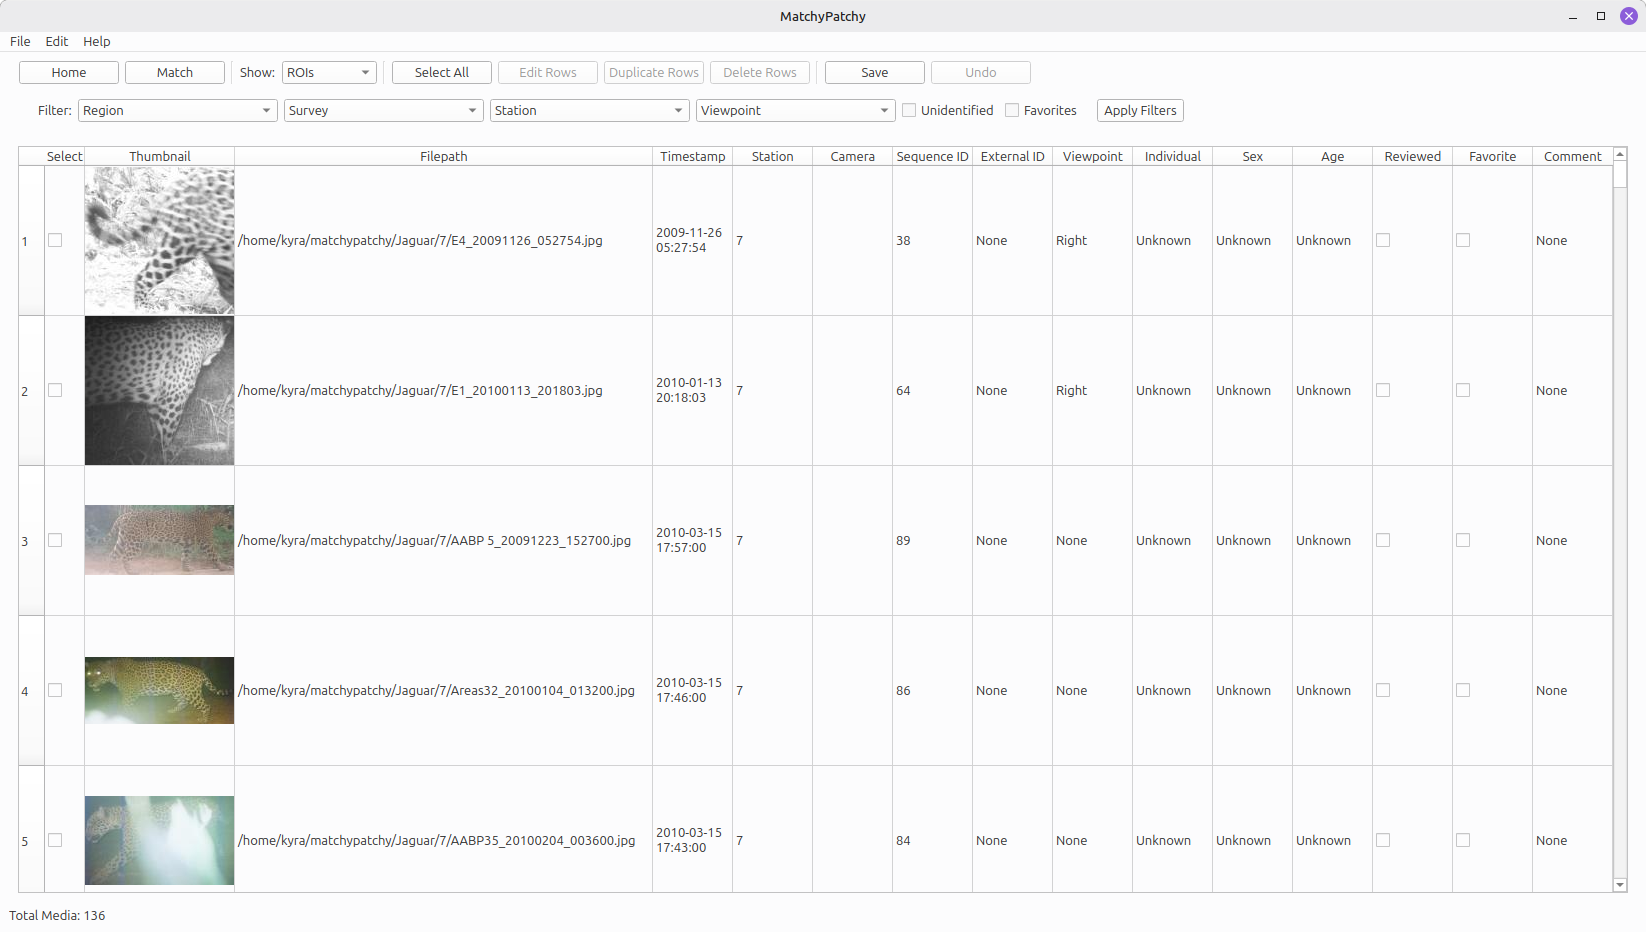
Editing the Table
You can edit the table directly by double-clicking a cell and inputing the desired value. Certain fields are not editable, such as Filepath and Station (marked with * below). Station names can be changed via the “Manage Stations” button on the Home page.
You can edit a row by double-clicking on the row number to the left. This will show a popup that contains the image and metadata, including editable fields.
You can edit multiple images at once by checking the boxes under the “Select” column and pressing “Edit”. To select all images, press “Select All”.
NOTE: To save any changes, press the Save button.
To undo changes before saving, press the Undo button.
To duplicate a media file or ROI, check the box under “Select” for the desired row(s) and press the “Duplicate” button.
To delete a media file or ROI, check the box under “Select” for the desired row(s) and press the “Delete” button.
Table Information
The ROIs contain the following information:
| Filepath* | The local filepath to the image. |
| Timestamp* | Exif CreateDate if available, otherwise FileModifyDate. |
| Station* | The station (site) name or code that the file was taken at. |
| Camera* | The specific camera trap that is the source of the image. |
| Sequence ID* | A unique numerical id that refers to a specific sequence of images or frames from a video. |
| External ID* | This refers to a unique identifier to associate the image with its entry in another database or software. |
| Viewpoint | The side of the body facing the camera, "Left" or "Right". |
| Individual | The name or code that identifies the individual. |
| Sex | "Male", "Female", or "Unknown". |
| Age | Approximate age, "juvenile", "Sub-adult", "Adult" or "Unknown". |
| Reviewed | If checked, this ROI was given an ID from the Match page. |
| Favorite | If checked, this ROI was marked for future lookup and quality control. |
| Comment | This is an editable text field in which you can input any extra information or comments. |
The Full Images contain the following information:
| Filepath* | The local filepath to the image. |
| Timestamp* | Exif CreateDate if available, otherwise FileModifyDate. |
| Station* | The station (site) name or code that the file was taken at. |
| Camera* | The specific camera trap that is the source of the image. |
| Sequence ID* | A unique numerical id that refers to a specific sequence of images or frames from a video. |
| External ID* | This refers to a unique identifier to associate the image with its entry in another database or software. |
| Comment | This is an editable text field in which you can input any extra information or comments. |
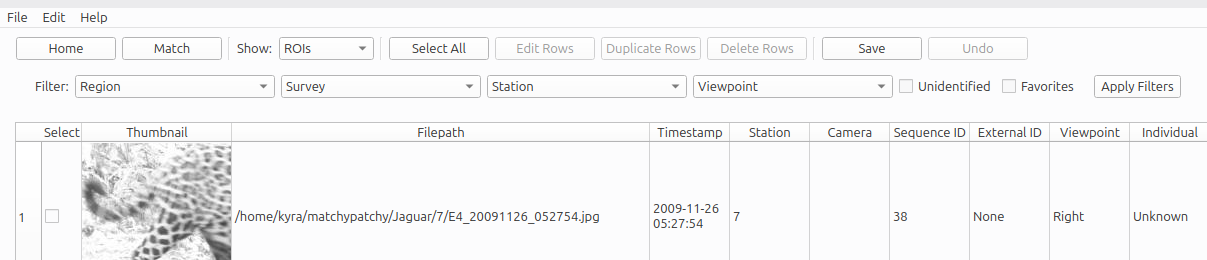
Filtering the Table
You can filter images by Region, Survey, Station and Viewpoint by selecting them from the dropdown. You can also filter for unidentified ROIs or favorited media by checking the boxes next to those options. To apply selected filters, press Apply Filters.
4. Match
Once you have validated that each ROI contains a single animal and that all station names and viewpoints are correct, select Step 4. Match from the Home page or from within the Media page. This will take you to the Match page, shown below.
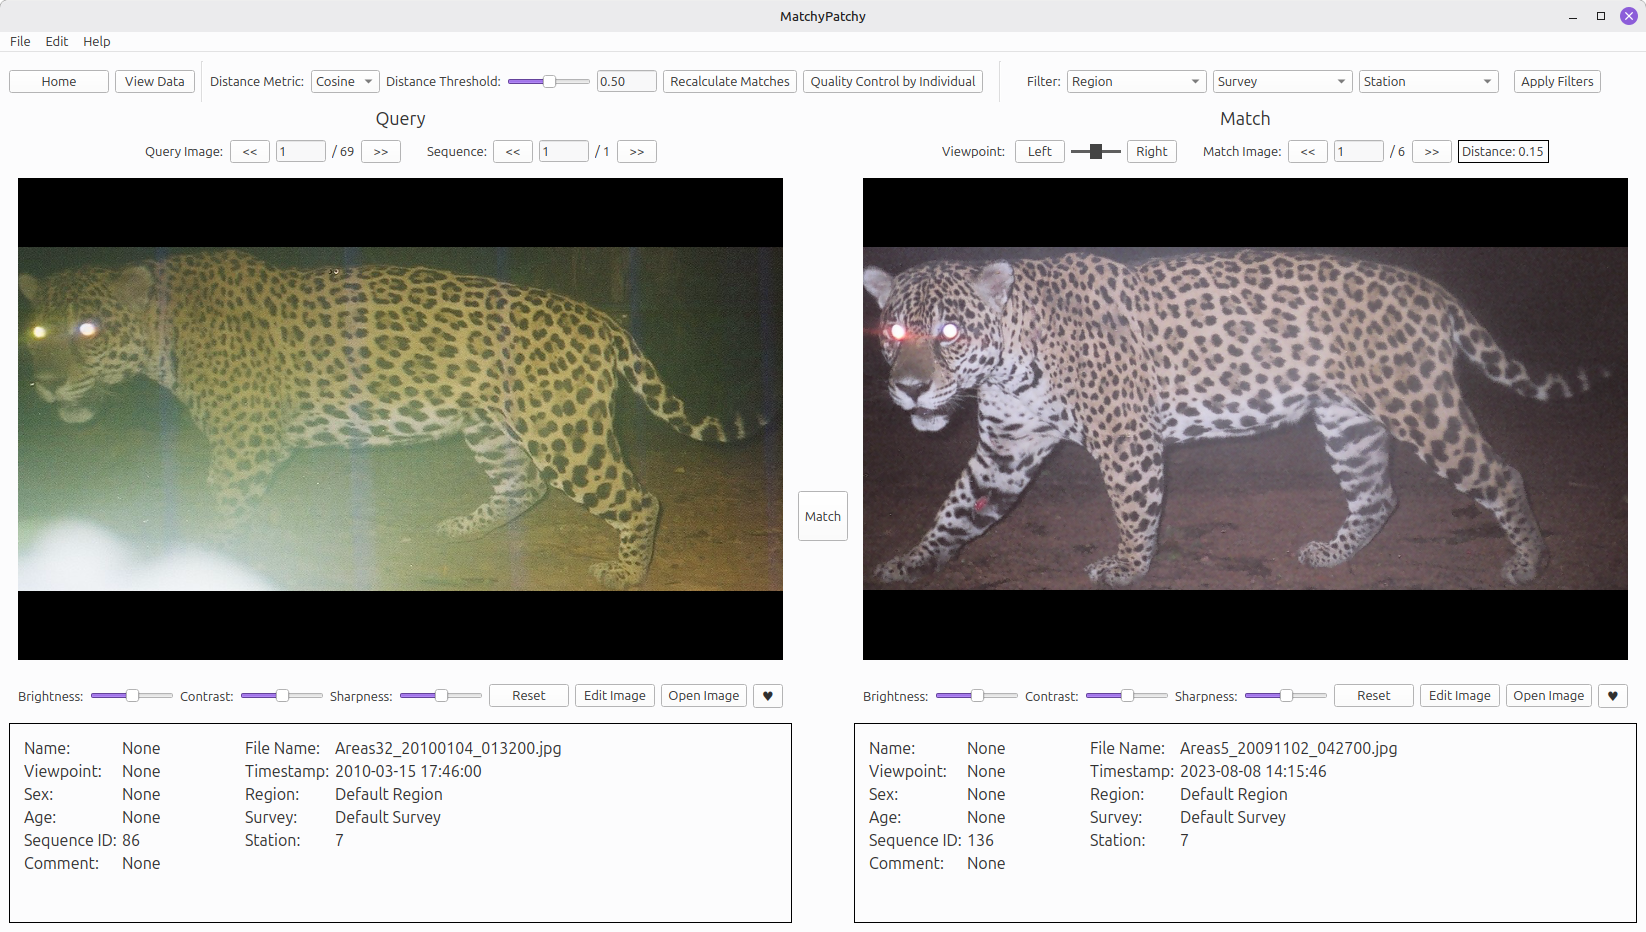
The left side of the screen shows an unidentfied Query ROI and its metadata, while the right side shows one of the potential Match ROIs based on the chosen Match Embedding model. MatchyPatchy will show potential matches that are of the same viewpoint of the animal, and are not from the same sequence or individual already. Potential match sequences are sorted by the distance between the two ROIs in their vector space in increasing order, with priority given to previously identified images.
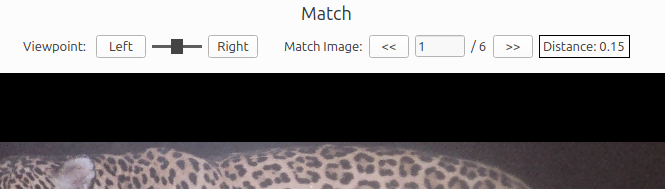
Navigation
The number of matches for the query sequence and currently displayed match index are displayed above the match image. Move through each potential match for the given query image by pressing the « and » buttons on the Match (right) side or the Left and Right arrow keys on the keyboard.
The box on the far right displays the calculated distance between the two images. The smaller the number, the more likely a match.
You can toggle the viewpoint filter to display only left-side or only right-side images, assuming viewpoint had been determined for each image prior. You can select all viewpoints by moving the toggle back to the center.
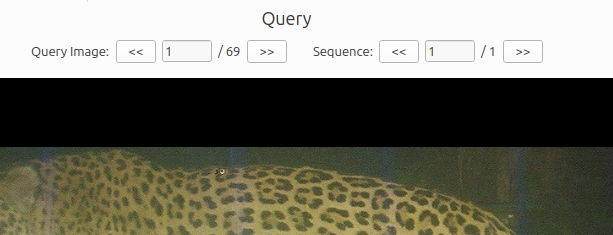
Once you have determined which potential matches are confirmed for that sequence,
you can move to the next sequence. Move
through sequences by pressing the « and » buttons on the left
“Query Image:” side or the Up and Down arrow keys on the keyboard. If there are
more than one image in a query sequence, you can move through those images by pressing
the « and » arrows on the “Sequence:” side.
Making a Match
When you believe the image on the right side is a match for the query image on the left, select the “Match” button in the center or by pressing “M” on your keyboard. If the match image does not have an individual ID, a popup will appear to allow you to create a new name. If you can tell the animal’s sex and age from the images, you can select that information from the dropdowns at this time as well.
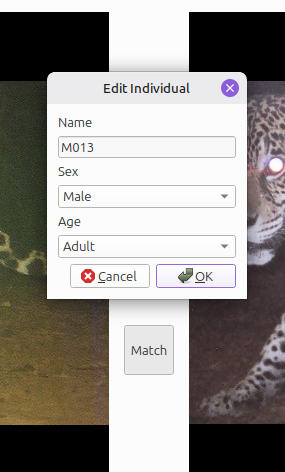
After selecting “OK”, both the Query and Match metadata will update to reflect the new information.
If the Match ROI has already been identified, pressing the “Match” button will apply that name to the Query ROI.
The “Match” button will turn green if the Query and Match ROIs belong to the same individual. Pressing “Match” while it is green will unmatch the images and reset the Query ROI’s identification to None.
Distance Metrics
By default, MatchyPatchy calculates the cosine distance between each embedding vector and presents only potential matches with a distance below than 0.5. You can change this threshold using the slider (or input a number directly), as well as calculate the L2 distance instead. Press “Recalculate Matches” to use a different distance metric and/or threshold.
At any point, you can press “Recalculate Matches” to filter out all confirmed matches that have been made so far.
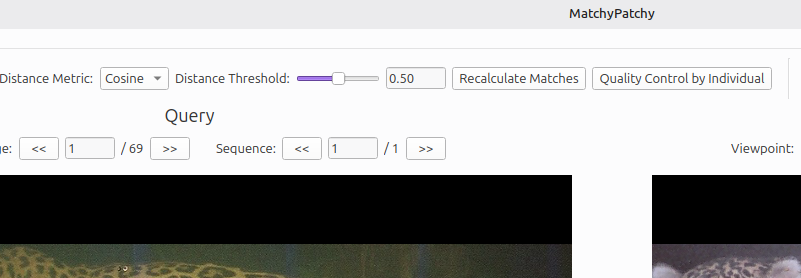
Quality Control by Individual
You can enter Quality Control mode by pressing the “Quality Control by Individual” button. See Quality Control for more information.
Filters
You can restrict the search space by a specifc Region, Survey, or even Station. Select the desired filter(s) from the dropdown and press “Apply Filters” to recalculate matches within the bounds of those filters.

Image Adjustments
You can adjust the Brightness, Sharpness and Contrast using the sliders below each image. To reset the image to its original state, press “Reset”.
To edit the image metadata, press “Edit Image”.
You can open the image in your default image viewer by pressing “Open Image”.
You can mark the image as a “Favorite” by pressing the ♥ button.
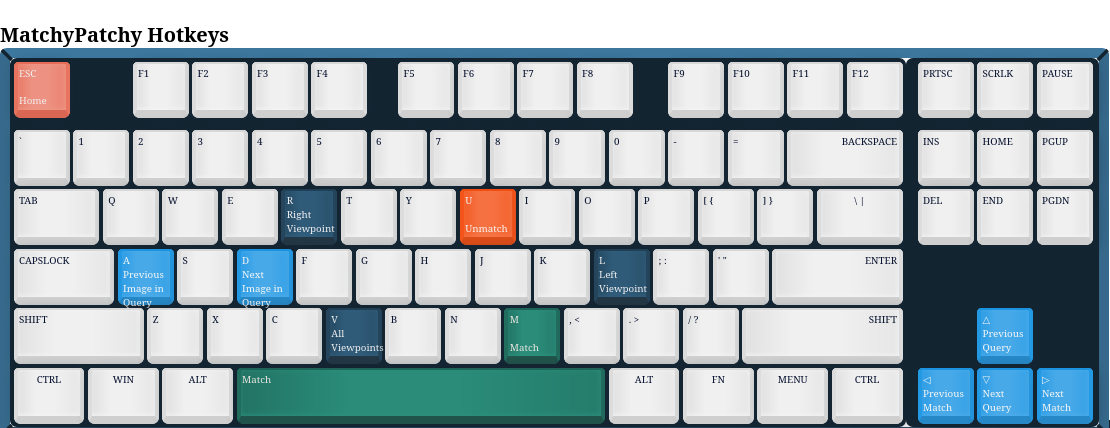
HotKeys
Use the following hotkeys to navigate through the Match page and make matches without using the mouse.
5. Export
You can export the entire database as a .csv by selecting Step 5. Export on the Home page. The .csv file will include local filepaths, timestamps, Survey and Station information, bounding boxes, and any Individual information that was added from the Match page.
Sharing a Database
You can move and share the entire MatchyPatchy-Share directory. Be sure to set the correct path to the directory by selecting Edit > Configuration - Project Directory. MatchyPatchy will verify that the database within the directory is compatible with the current version of MatchyPatchy.
Quality Control
After you have identified every image, you can verify the labels by selecting 4. Match from the Home page and then selecting Quality Control by Individual. This will place every named individual in the query cue and put every example image for that individual in both the query and match sides. This allows you to compare each example of an individual against each other example to confirm that all belong to that individual. It is recommended that viewpoint is determined for all ROIs prior to starting Quality Control.
If an ROI on the Query (left) side is determined to be of a different individual, pressing the “Match” button or the “M” key will unmatch it from that individual ID.
In Quality Control mode, a new filter for Individual will appear, allowing you to select specific individuals to view and verify.
In Quality Control mode, “Recalculate Matches” will reload the data and apply any set filters.
Troubleshooting and FAQ
How do I use my own Detector/Re-Identification Model?
Currently, MatchyPatchy only supports MiewID v3. To request a new model,
submit
an issue.